Time to get crafty with these 6 distinctive DIY wall decor ideas that will add a personal flair to your space.
Living in a bland, undecorated space is no fun. But who says you need to break the bank to spruce up your walls? The solution is to get inventive with items you already own. Transform them into stunning wall art that adds charm to your home. Below are 6 simple DIY wall decor projects that our DesignCafe experts are excited about.
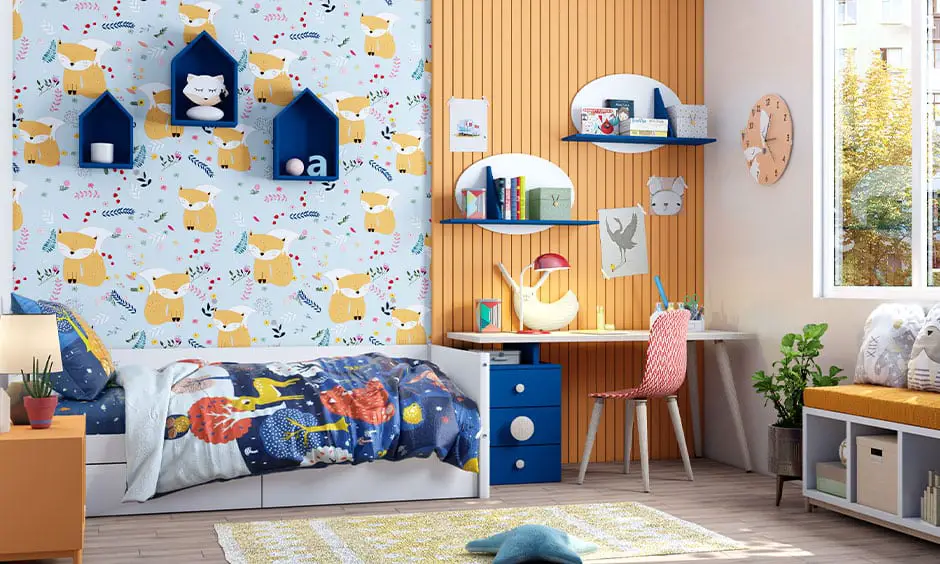
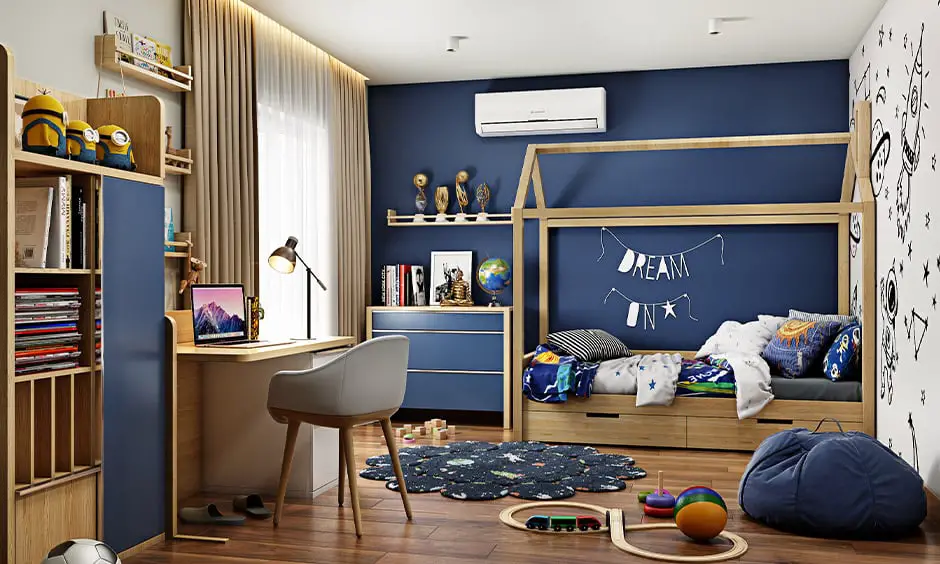
Fun DIY Wall Decor: Cardboard Shelves & Clocks
Transform a regular weekend into a creative adventure with your children by crafting DIY shelves and clocks for their room. Recycle old shoe boxes into chic wall shelves and create unique clocks out of spare plywood. Sand down the edges for a smooth finish before painting. It’s the perfect activity for family time and sparking everyone’s imagination.
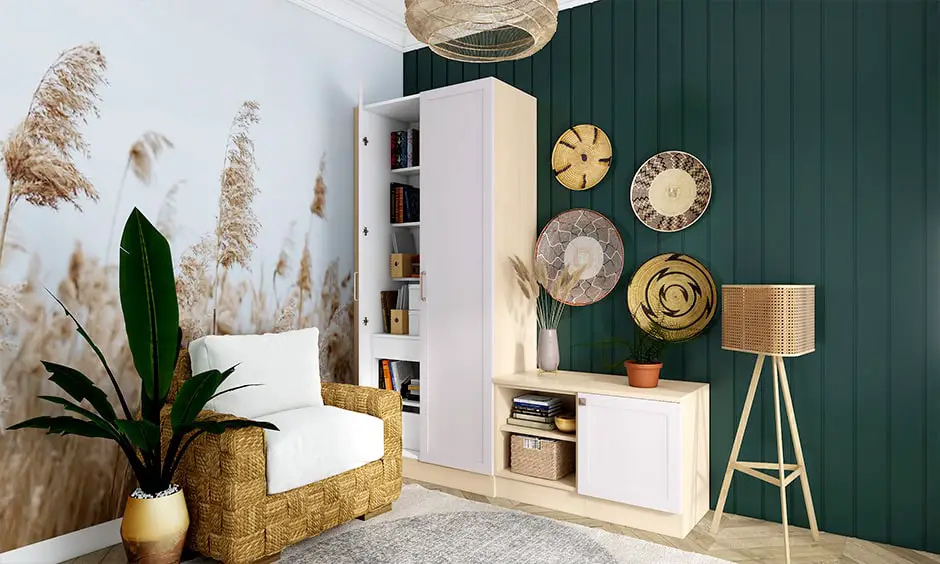
Chic DIY Wall Art: Upcycled Wicker Baskets
Rediscover those old wicker baskets gathering dust in your attic. Instead of discarding them, give them a new lease on life with this simple DIY project. Just splash on some vibrant paint and affix them to your wall as art pieces using adhesive strips. The rustic charm of wicker paired with a bold wall color like deep green can transform any space, making it especially ideal for sprucing up a rental.
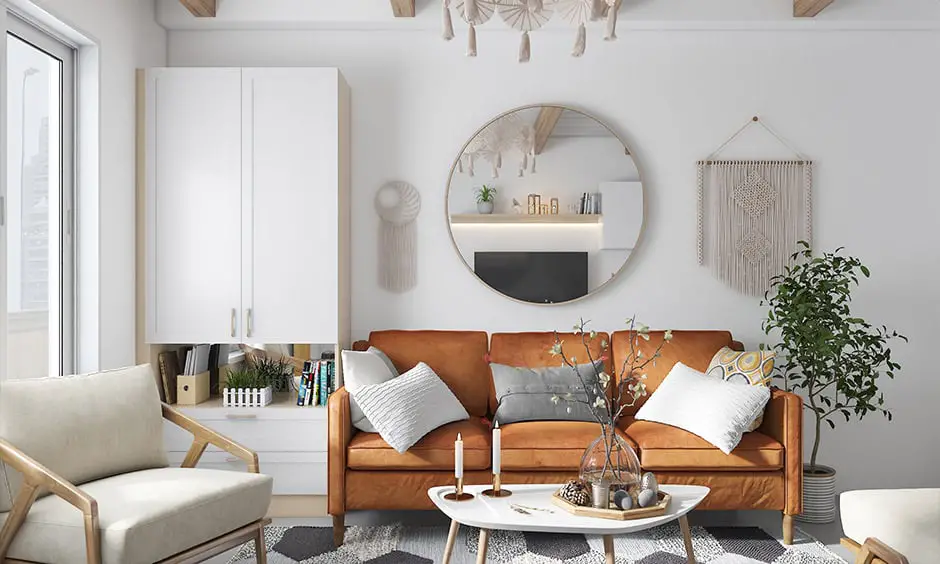
DIY Wall Art: Colorful Macrame Makeover on a Budget
Macrame wall hangings are all the rage in home decor, and it’s easy to see why. They’re as fun to make as they are lovely to look at. Don’t let the cost of colored macrame deter you. Here’s a simple DIY to try:
Choose any white macrame wall hanging and bring it to life with fabric paints. Draw inspiration from traditional Indian designs or go with your style. It’s an affordable way to make a bold statement in your decor. Happy crafting!
Simple Paper Crafts: DIY Wall Hangings for the Little Ones
Need a quick and fun project for your kids’ school assignment? Whip up a charming DIY paper wall hanging. Just grab some string, glue, and colorful craft paper. Cut out letters to spell out a cheerful message and stick them onto the string. It’s an adorable way to add a personal touch to your child’s room, and they’ll love showing off their creation.
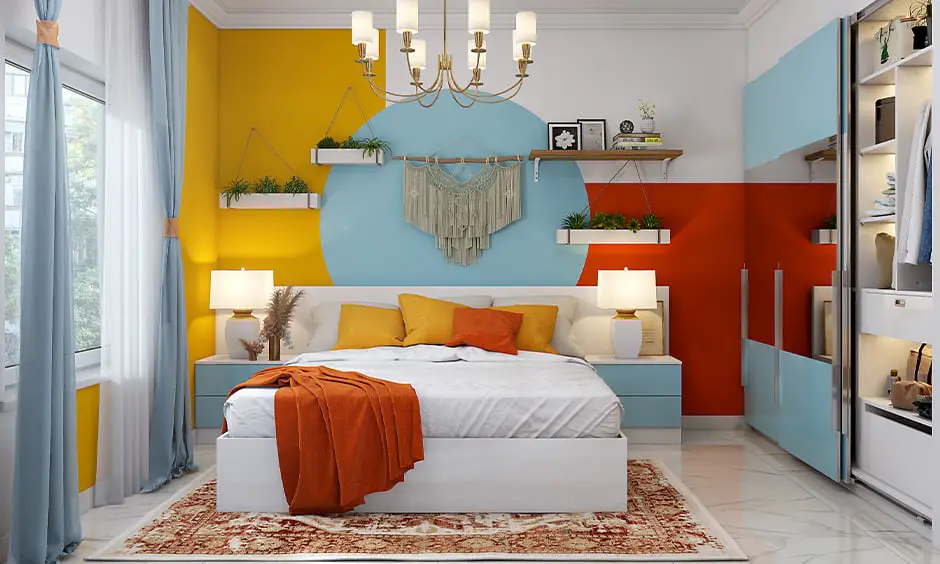
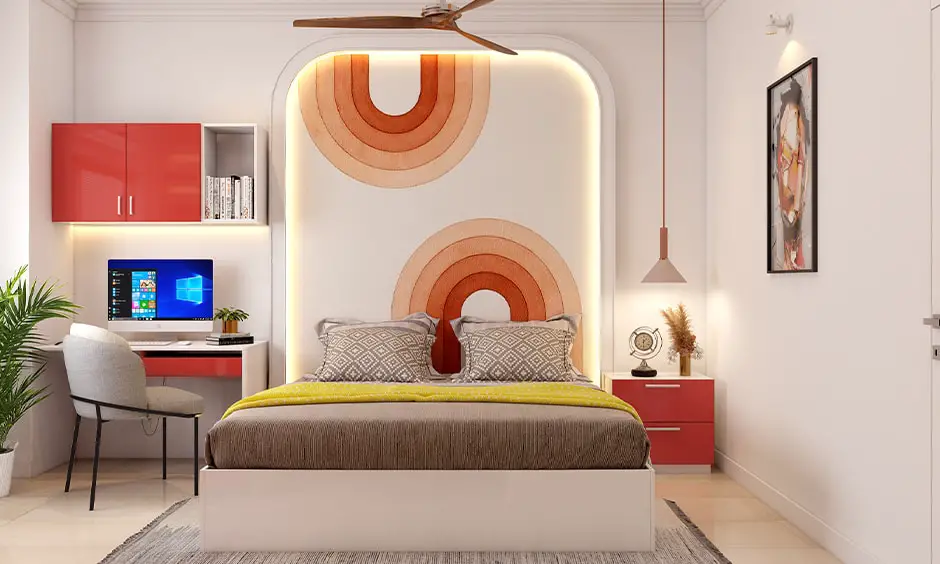
Freshen Up Your Space: DIY Wall Paint Projects
Tired of the usual DIY wall hangings? If you’re in a rental where nails are a no-go, don’t worry—your decor dreams aren’t dashed.
Instead of hanging, why not paint? Create bold, painted statement pieces directly on the wall. When it’s time to move out, just paint it back to its original state. It’s a simple and impactful way to personalize your space without any permanent changes. Give it a try and watch your walls come alive!
Interior decor offers limitless possibilities. Even the smallest items, like a seashell or a strand of yarn, can be transformed into art. All it takes is a spark of creativity. If you enjoyed our DIY wall-hanging ideas, we’d love to see what you create. Share photos of your projects with us and let your creativity shine!
How do you make a homemade wall hanging?
Creating a homemade wall hanging is a fun and creative process that allows for a lot of personalization. Here’s a simple way to make one:
- Choose Your Material: Decide on the material you want to use for your wall hanging. This could be fabric, paper, yarn, beads, or even recycled items.
- Design Your Layout: Sketch out a design or pattern for your wall hanging. Consider the size and how it will look in the space where you plan to hang it.
- Gather Supplies: Based on your design, gather all the necessary supplies. This might include scissors, glue, paint, a needle and thread, or other crafting tools.
- Create the Base: If you’re using fabric or yarn, cut it to the desired size. For paper, you might fold or cut it into shapes.
- Decorate: Add colors, textures, and patterns to your base. Paint, stitch, or glue on decorative elements.
- Assemble: Put all the pieces together. If you’re using string or yarn, you might braid or knot it. For paper, you might layer it or create a collage.
- Add Finishing Touches: Once assembled, add any final touches like tassels, beads, or other embellishments.
- Prepare to Hang: Attach a string or rod to the top of your wall hanging for easy mounting.
Remember, there’s no right or wrong way to create art. Let your imagination guide you, and have fun with the process!
How to hang artwork or wall hanging on a wall without nails?
To hang artwork or wall hangings without nails, you can use adhesive hooks or strips that are designed to hold weight securely without damaging walls. These products typically use a strong, removable adhesive that can be peeled off cleanly when you’re ready to take down or move your art.
Suction hooks might work for lighter items on very smooth surfaces, but they generally don’t have the same holding power as adhesive options. Always check the weight limit on the packaging to ensure it can safely hold your artwork. Remember to clean the wall surface before applying any adhesive product for the best hold.