The following tutorial will teach you how to make a colorful ring with nothing more and nothing less than a copper pipe. If you want to know the steps, keep reading.
Is there anything you need?
The tools
-
The pliers
-
421 polishing compound
-
SC456 cutting disc for metal
-
Disk 414 made of felt
-
4250 Dremel
-
Spectacles
-
Hand gloves
-
Multiply
-
The towel
-
Grinding point for aluminum
-
114 milling tip
-
Marker with indelible ink
The materials
-
Tubes made of copper
STEPP BY STEPP
The first step is to mark the cut
Make a mark on a piece of copper pipe with a marker to indicate the width of the ring. This will be the place where you will cut the ring. Also mark the line along which you will make the main opening so the ring can be sized to your finger.
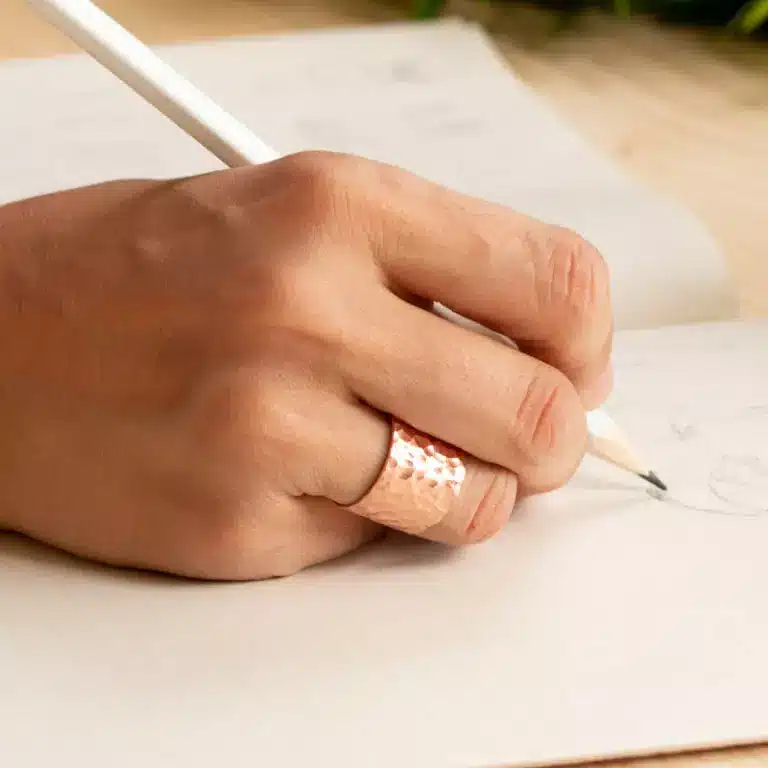
The surface should be decorated
Using the Dremel Multivise, hold the copper pipe so that it is precise and safe once you have marked the ring. To give the pipe a more attractive rough texture, use the milling tip 114 to give it a few “bumps.” Decorating the surface of the ring before cutting it will make it easier for you to work with.
Cut the ring into thirds
The line you drew earlier should be cut using the 4250 and the SC456 metal cutting wheel so the ring can be adjusted to any size. With the help of pliers, remove the ring from the pipe and widen it to the size you need. Now your ring will fit your finger perfectly.
4. Polish the ring with sandpaper
All that remains to do once you have finished the ring is to sand down the burrs with accessory 952. The edges and tips of the ring should be rounded off to make it more comfortable to wear. The piece can now be polished to give it a little shine and achieve a more striking effect. You can use the 414 felt disc in conjunction with the 421 polishing compound. In general, this compound is put on the accessory. As you polish the paste itself, bring the felt disc closer to the paste so that it soaks into it well.